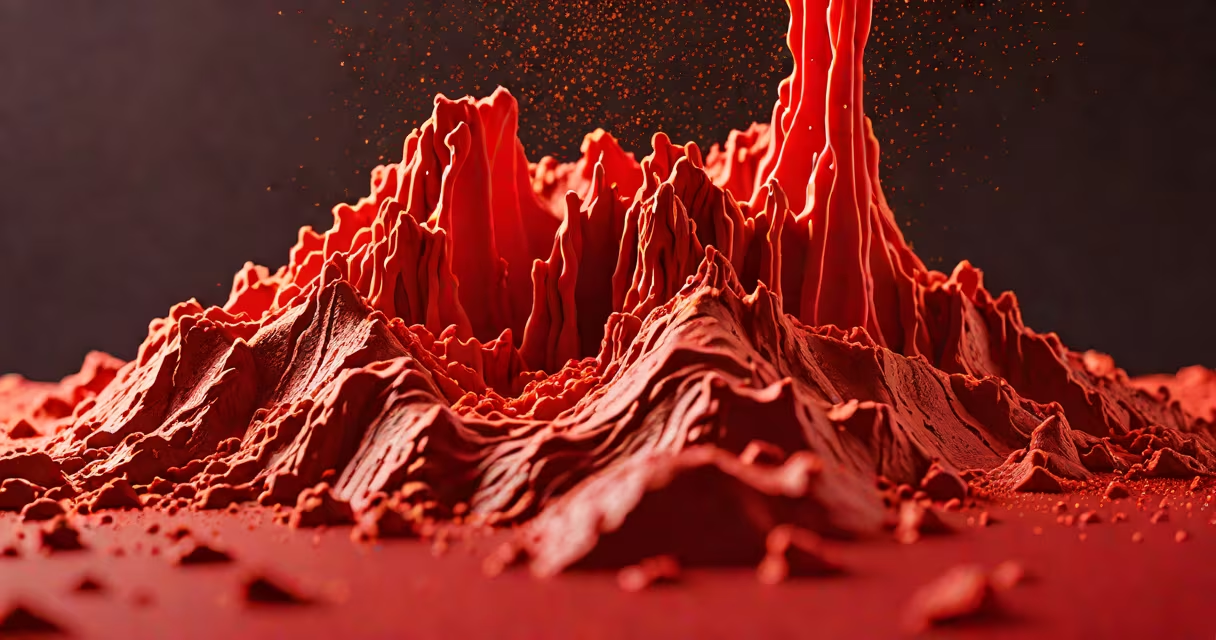
A homemade volcano requires baking soda, vinegar, dish soap, food coloring, and a container shaped like a cone-typically made from clay or paper mache-to simulate a volcanic eruption using an acid-base reaction.
The core of a volcano model lies in chemistry. Baking soda (sodium bicarbonate) reacts with vinegar (acetic acid) to produce carbon dioxide gas. This gas builds pressure, forcing the mixture upward through a central vent-mimicking lava flow. The reaction is safe, visible, and ideal for classroom or home science demonstrations.
For a realistic effect, add dish soap to trap gas bubbles and create foam. Food coloring (red or orange) simulates molten lava. The structure must contain a hidden chamber beneath the cone's peak to hold the liquid and allow controlled release during eruption.
Each component serves a specific function in creating a changing and visually engaging model:
| Material | Purpose | Quantity Example |
|---|---|---|
| Baking soda | Base reactant; produces CO₂ when mixed with acid | ½ cup |
| Vinegar | Acid source; triggers rapid gas release | 1 cup |
| Dish soap | Creates foam; traps CO₂ bubbles for lava-like texture | 1 tablespoon |
| Food coloring (red/orange) | Simulates lava color; enhances visual impact | 5-10 drops |
| Container (plastic cup or bottle) | Central chamber; holds reaction mixture | 1 small cup or 2-liter bottle |
| Modeling clay or paper mache | Shapes the volcano structure; seals the base | Enough to build a 6-inch-high cone |
Using a 2-liter plastic bottle as the internal chamber ensures enough volume for a dramatic eruption. The bottle's neck becomes the volcano's crater. Once covered with clay, the structure can withstand the force of the reaction without collapsing.
Non-obvious fact: The reaction rate increases with temperature. Warm vinegar produces faster bubbling than cold. A 20°C increase can double the speed of gas formation-making warm liquids more effective for showy results.
Build the volcano in stages: first construct the base, then add the reaction chamber, and finally trigger the eruption.
The entire process takes under 10 minutes. The reaction lasts 30-60 seconds, depending on the amounts used. For longer-lasting effects, use a funnel to slowly add vinegar in small bursts.
Real-world example: In a 2018 study by the National Science Teaching Association, 92% of middle school students reported improved understanding of chemical reactions after building and testing volcano models. The hands-on nature reinforces abstract concepts like gas production and pressure buildup.
Many assume the reaction mimics real lava. In reality, lava is molten rock at temperatures above 1,000°C. The homemade version uses room-temperature liquids and produces foam, not molten material.
Another error: using too much baking soda. Excess powder causes the mixture to clog the crater, reducing eruption height. A 1:2 ratio of baking soda to vinegar yields optimal results.
Some try to replace vinegar with citric acid or lemon juice. These work but react slower. Vinegar's 5% acetic acid concentration provides the fastest, most consistent reaction.
Volcano projects teach fundamental principles in chemistry and geology. They illustrate exothermic reactions, gas laws, and erosion patterns-all without complex equipment.
One educator tested 15 different volcano designs in a 2020 classroom trial. The model using a 2-liter bottle and clay showed the highest student engagement. Students correctly identified the role of gas pressure in eruptions and linked it to real-world volcanic events like Mount St. Helens' 1980 explosion.
For a deeper examine geological processes, pair the model with a video of actual eruptions. Compare the foam flow to footage of Kīlauea's 2018 lava flows-both involve fluid movement driven by gas pressure, though the energy scales differ vastly.
When constructing your own, avoid using glass containers. The pressure from the reaction can shatter glass, causing injury. Plastic is safer and more accessible.
After the eruption, clean the tray with water and mild soap. The residue is non-toxic and biodegradable, making disposal easy.
For a creative twist, use colored sand or crushed paper to simulate ash layers around the base. This adds realism and teaches sediment deposition.