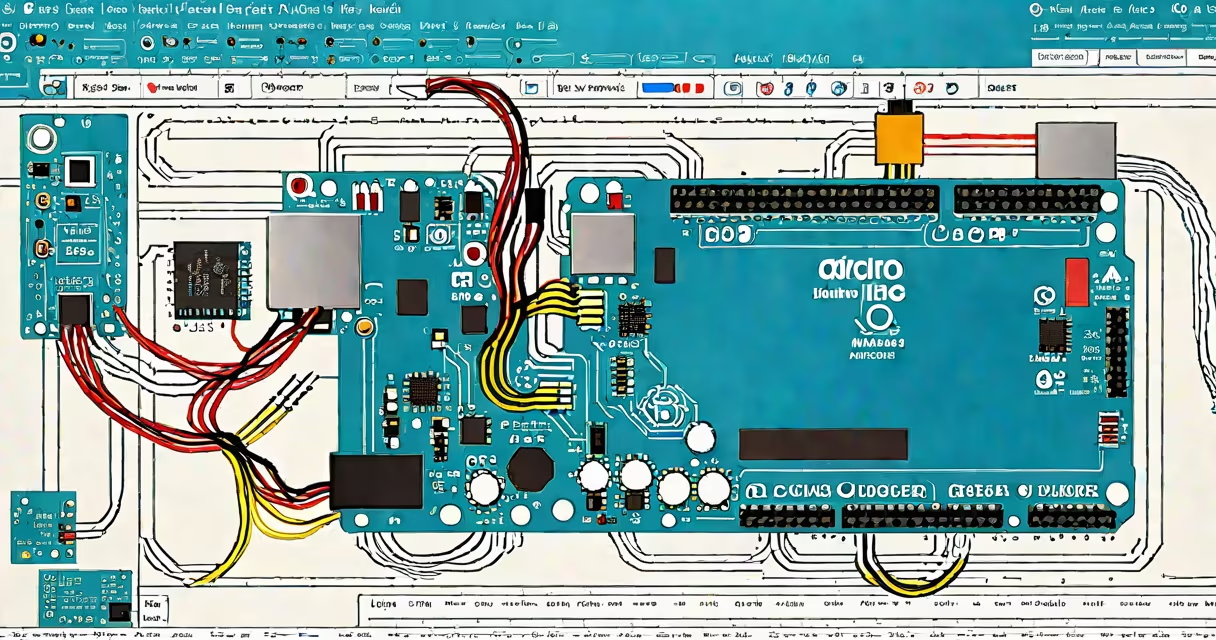
The Arduino IDE is a free, open-source integrated development environment used to write, compile, and upload code to Arduino microcontroller boards. It supports C++-based syntax and provides tools for debugging, serial monitoring, and managing libraries. The IDE runs on Windows, macOS, and Linux.
Developed by the Arduino team and released in 2005, the Arduino IDE simplifies access to embedded programming for beginners and professionals alike. It connects directly to Arduino boards via USB, translating human-readable code into machine instructions the microcontroller can execute. Version 2.0 introduced a modernized interface and improved library management, while maintaining backward compatibility with older sketches.
According to the official Arduino documentation, the IDE handles compilation and linking automatically, reducing setup complexity. It includes a built-in serial monitor for real-time communication with connected devices, essential for testing sensor readings or debugging logic.
When you write code in the Arduino IDE, you're creating a sketch-a program designed to run on an Arduino board. The IDE compiles this sketch into machine code compatible with the specific microcontroller used, such as the ATmega328P in the Uno or the SAMD21 in the Zero.
Compilation happens in the background. If errors occur-like missing semicolons or mismatched brackets-the IDE highlights them in red and displays error messages. Once compiled successfully, the IDE uploads the binary file to the board through the USB connection using a bootloader, which allows flashing firmware without external programmers.
For example, a basic blink sketch for an Arduino Uno uses the digitalWrite() function to turn an LED on and off every second. The IDE translates this high-level instruction into precise timing pulses sent to pin 13. After upload, the LED blinks at a 1-second interval, confirming the code executed correctly.
The Arduino IDE features a clean layout divided into four main areas: the code editor, toolbar, message console, and serial monitor window. The editor is where you type your sketch. The toolbar contains buttons for verifying, compiling, and uploading code. The console shows status updates during these operations.
Below the editor, the serial monitor displays live data sent from the board. This is important when working with sensors. For instance, when reading temperature from a DS18B20 sensor, values appear in real time as numbers or graphs, helping confirm accurate data acquisition.
Library management is handled through the Sketch > Include Library > Manage Libraries menu. Users can install third-party libraries-such as Adafruit_SSD1306 for OLED displays-directly from within the IDE. These libraries provide pre-written functions, reducing development time and minimizing errors.
The Arduino IDE supports many boards beyond the original Uno. You can select your board from Tools > Board, then choose the correct model from the list. Supported devices include the Nano, Mega, Leonardo, and ESP32-based boards like the NodeMCU.
Each board requires a specific port and processor architecture. For example, selecting the ESP32 Dev Module enables support for Wi-Fi and Bluetooth features. To use such boards, users often install additional board definitions via the Boards Manager. This process adds configuration files so the IDE knows how to compile and flash code properly.
| Board Type | Microcontroller | Use Case | IDE Support Level |
|---|---|---|---|
| Arduino Uno | ATmega328P | Beginner projects, prototyping | Full native support |
| Arduino Nano | ATmega328P | Small form factor, wearable devices | Full native support |
| ESP32 Dev Module | ESP32-WROOM-32 | Wi-Fi, Bluetooth, IoT applications | Requires added board manager URL |
| Arduino Mega 2560 | ATmega2560 | High I/O count, motor control | Full native support |
One common mistake is assuming all Arduino-compatible boards work out of the box. The IDE doesn't auto-detect every variant. For example, the Adafruit Huzzah32 board needs the ESP32 board package installed manually via the Boards Manager. Without this step, the IDE won't recognize the device or allow uploads.
The Arduino IDE is widely used in education, DIY electronics, robotics, and industrial prototyping. Its simplicity makes it ideal for teaching programming concepts, circuit design, and signal processing. Schools and universities use it to introduce students to embedded systems, often pairing it with breadboards and basic components like LEDs, resistors, and pushbuttons.
In hobbyist circles, the IDE powers home automation setups. A user might program an Arduino to read motion data from a PIR sensor and trigger a light when movement is detected. The IDE's serial monitor lets them verify detection events in real time, ensuring the system responds accurately.
Professional engineers use the IDE for rapid prototyping before moving to custom firmware or production-grade tools. For example, a team developing a smart irrigation system might test soil moisture thresholds using an analog sensor and a relay-controlled water valve-all coded and debugged in the Arduino IDE before scaling to a commercial solution.
Many assume the Arduino IDE is limited to Arduino-branded hardware. This is incorrect. The IDE supports hundreds of third-party boards, including those based on ARM Cortex-M processors and ESP32 modules. The key requirement is installing the correct board definition package.
Another misconception is that the IDE only works with USB. While most boards connect via USB, some models-like the Arduino Nano Every-can be programmed using ICSP headers with an external programmer. The IDE still handles the upload process, but the physical connection differs.
A less obvious point: the IDE does not handle real-time operating systems (RTOS) natively. Projects requiring multitasking, interrupts, or precise timing may need external frameworks like FreeRTOS, which must be integrated manually. The IDE can compile such code, but it lacks built-in RTOS configuration tools.
I once built a weather station using a DHT22 sensor and an OLED display. The initial version failed because I forgot to include the DHT.h library in the sketch. The IDE didn't flag the missing header-only the compiler did. After adding the library via the Library Manager, the code compiled and displayed temperature and humidity data correctly. This taught me that library dependency management is critical, even in simple projects.
The Arduino IDE is not standalone. It integrates with external services and protocols. For example, when building IoT devices, developers often pair the IDE with MQTT messaging. Using the PubSubClient library, a sketch can publish sensor data to a broker like Mosquitto. The IDE handles the code, but the actual network communication depends on external infrastructure.
For advanced workflows, users export compiled binaries from the IDE and use tools like avrdude for low-level flashing. However, the IDE remains the primary interface for most tasks. It streamlines the entire process-from writing code to deploying it on hardware.
The Arduino IDE is a foundational tool for anyone working with microcontrollers. It enables direct interaction with hardware through a simple, accessible interface. sending information over Wi-Fi, the Arduino IDE handles the translation between code and execution.
Understanding its structure, limitations, and integration points ensures efficient project development. The IDE is not just a code editor-it's a complete environment for designing, testing, and deploying embedded systems.